For those of you who have never had a crunchwrap yourselves, here is a description straight from Taco-Bell's website:
"A warm, soft, flour tortilla filled with seasoned beef (or beans), warm nacho cheese sauce, a crunchy tostada shell, reduced fat sour cream, lettuce and tomatoes and then wrapped up and grilled for maximum portability."

It really is so innovative that it doesn't deserve to be relegated to being simply a branded food - I believe it should be as common, and often-made as the burrito itself (and maybe even someday replace it).
So to achieve this, I now present you with, complete and tested for tastiness, the (un)official crunchwrap supreme recipe:

--------------------
Part of the trick to getting this (and other Taco-Bell foods) just right is to cook it exactly how they do: for a very short time on a very high-heat, lightly oiled grill. Induction cookers are perfect for this, as they replicate the high power and efficiency of commercial grills, and cook very evenly.
The instructions specified here should work fine with any 10 power setting, 1800 watt induction cooker (I used a Max Burton 6000 ). Normal heat settings are specified as well, in case you're using a normal stove. Be aware that cook times might be significantly longer on a normal stove.
Note: being a non meat-eater myself, I made this recipe based on the vegetarian version of the crunchwrap, which uses beans instead of beef. If you want to make a normal style crunchwrap, simply substitute the beans for beef in this recipe. I also chose to use real cheddar instead of nacho cheese, as I'm not exactly partial to the processed cheeses myself.
Makes: 2 crunchwraps
What You'll Need:
- 2 - 12 inch or larger flour tortillas
- 2 - pre-made 5" (standard) tostada shells
- 3/4 cup refried beans
- 1/2 cup finely shredded cheddar
- 1/2 cup finely chopped romaine (thin strips)
- 1/4 cup diced tomatoes (1/4" pieces, use a firm tomato and drain any juice)
- 1/4 cup sour cream (normal or reduced fat)

Instructions:
Set-up & Tips:
- Your tortilla needs to be about two inches more than twice the diameter of your tostada shell. For example, for a 5 inch (normal) tostada shell, you should use a 12 inch tortilla. As all I had were 8 inch tortillas when I made these, I cut my tostada shells down to 3 inches using a sharp knife. As a result, I had sort-of "mini crunchwraps", so don't judge the size of your crunchwrap based on my pictures.
- As the cheese needs to go nearest to the outside, and beans don't spread well on cheese, it works best to spread the beans on the tostada shell rather than the tortilla. Pre-heating the beans will also make them easier to spread, and help to melt the cheese (just zap them in the microwave quickly).
- If you plan to use beef, invert the instructions below, and sprinkle the cheese then the meat onto the center of the tortilla first instead.
- If you really want to do everything properly, add 1/2 Tbsp water to your sour cream, and put it into a condiment squeeze bottle for easy application.
- WARM the tortilla for about 15 seconds in the microwave right before using it, so that it doesn't crack when you fold it.
Assembly:
1. Spread a little over 1/4 cup of beans on your tostada shell, so that you get an even layer to the edges, just under 1/2" thick.


2. Sprinkle about 1/4 cup of cheese over the beans, again to the very edges of the shell.


3. Place a warmed flour tortilla centered over the tostada shell, and reaching under and supporting the shell, invert the whole assembly.


4. Squeeze or spread a thin layer of sour cream over the exposed tostada shell.


5. Spread about 1/4 cup lettuce over the sour cream.
6. Spread 1/8 cup tomatoes over the lettuce.


Folding:
Now comes the tricky part. This may be a little difficult at first, but follow the instructions and pictures, and you'll get the hang of it pretty quickly.
1. Fold one side of the tortilla as far as it will go over the other ingredients.


2. Using your fingers, make the next fold just like the last, while tucking the extra tortilla under the fold.

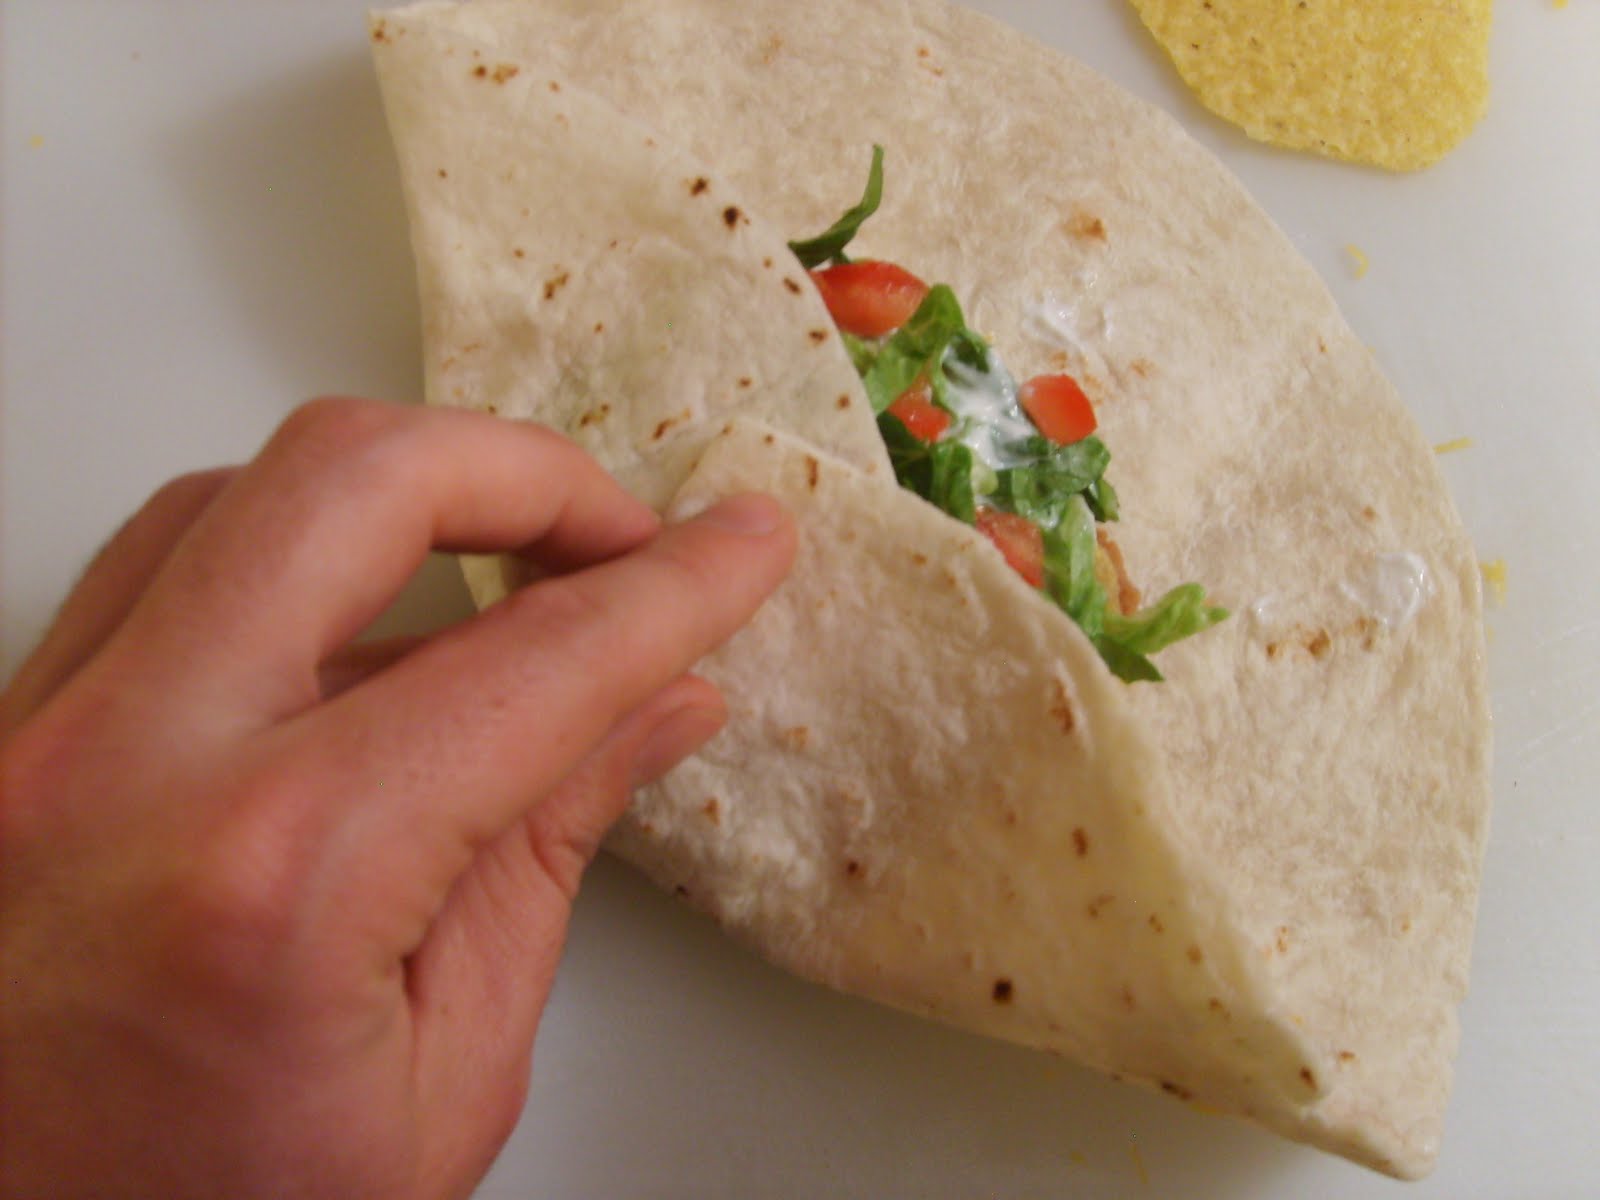
3. Continue folding like this until you reach the very end, where there is a single triangular flap left.


4. Fold this final flap closed.


1. Using a folded piece of paper towel, lightly grease a 12 inch skillet (cast iron works great).
2. Preheat skillet to power level 5 (medium high on a normal stove), until oil begins to bead.
3. Turn to power level 3 (high side of medium), and place folded crunchwrap right-side up in pan.

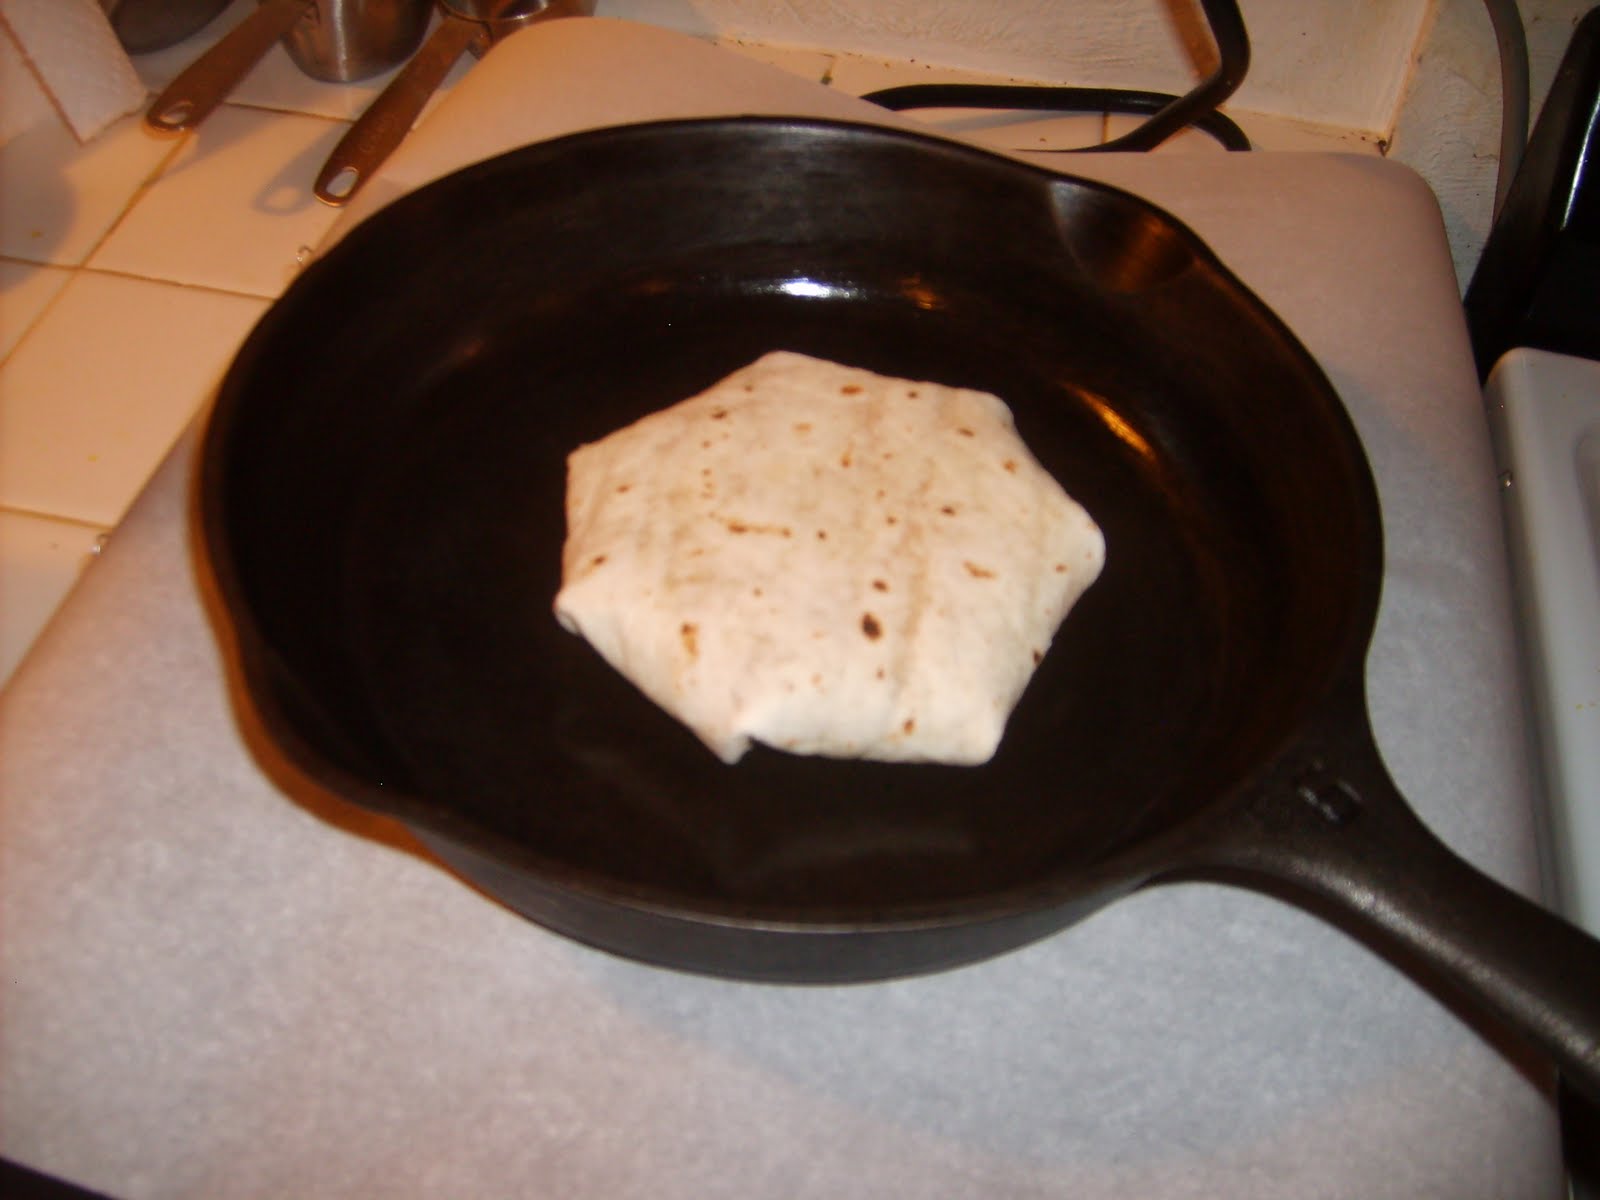
4. Using a smaller skillet (or other heavy food-safe object), press crunchwrap firmly into the pan. Turn as soon as it becomes evenly brown (about 30 sec).


5. Use smaller skillet again to press other side into pan until nicely brown (again about 30 sec). You might want to quickly re-oil the pan before doing this.
6. Remove, let cool, and enjoy!


--------------------
For another great induction cooked Taco-Bell imitation recipe, go here.
I love hearing from you. If this was helpful to you in any way, please leave a quick comment letting me know!
Disclaimer: I don't own or have any relation to Taco-Bell, or any of it's brands or trademarks. Any names, trademarks, or designs used here are only used as testaments to the quality and innovation of the originals. Any images displayed here are the property of their respective owners. If you are the owner of an image used and would like it removed, please contact the author of this post.
JUST DID THIS TONIGHT MESSED UP THE FIRST BURNER GOR TOO HOT AND BURNED MAKING THE SECOD RIGHT NOW!!!! Thank you so much this is amazing found how to make the quesadilla sauce even to dip!!!
ReplyDeleteTHE FOLDING IS CONFUSING
ReplyDeleteI AM YELLING TOO, AM I FITTING IN?! :P
ReplyDeleteGreat recipe by the way, it is delicious.
Intex Round Ultra Pool Set
ReplyDeleteBest Single Size Starter Hammock
Streamlight Flashlight Review
Make Olive Oil Lamp
Shotgun Magazine Spring
Best Backpacking Stove Review
Best Kayak Paddle
Condor Recon Chest Rig Review
Fixed Blade Knife
Best Zombie Survival Kits